
You can create Notices that are sent to select individual from Payroll.
-
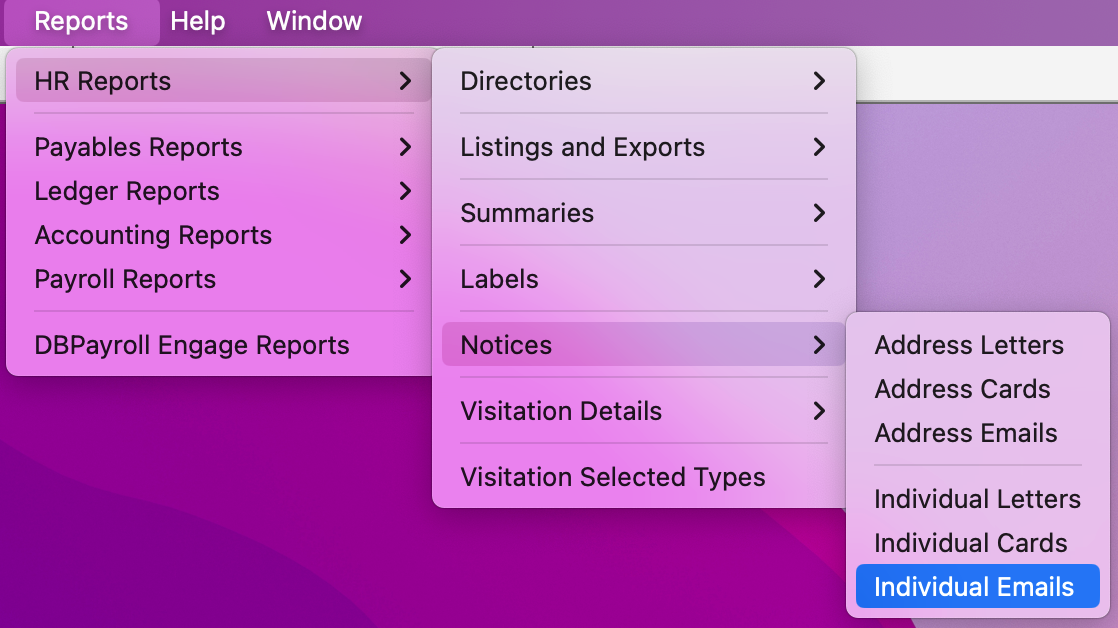
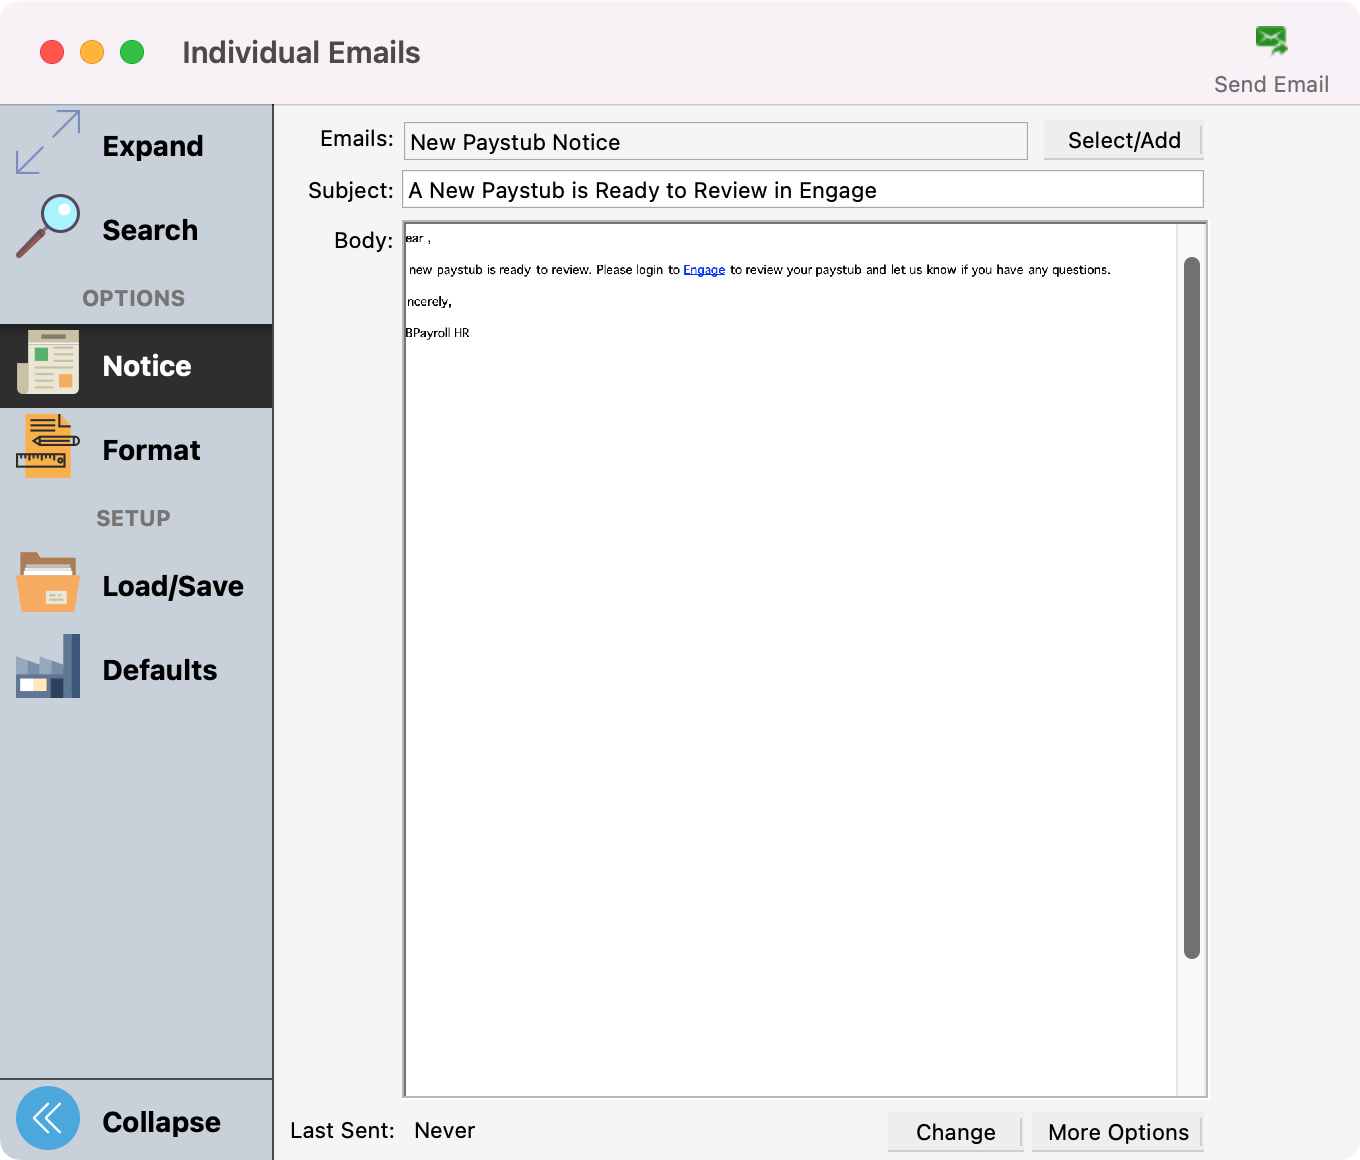
From Payroll, go to Reports → HR Reports → Notices → Individual Emails .
-
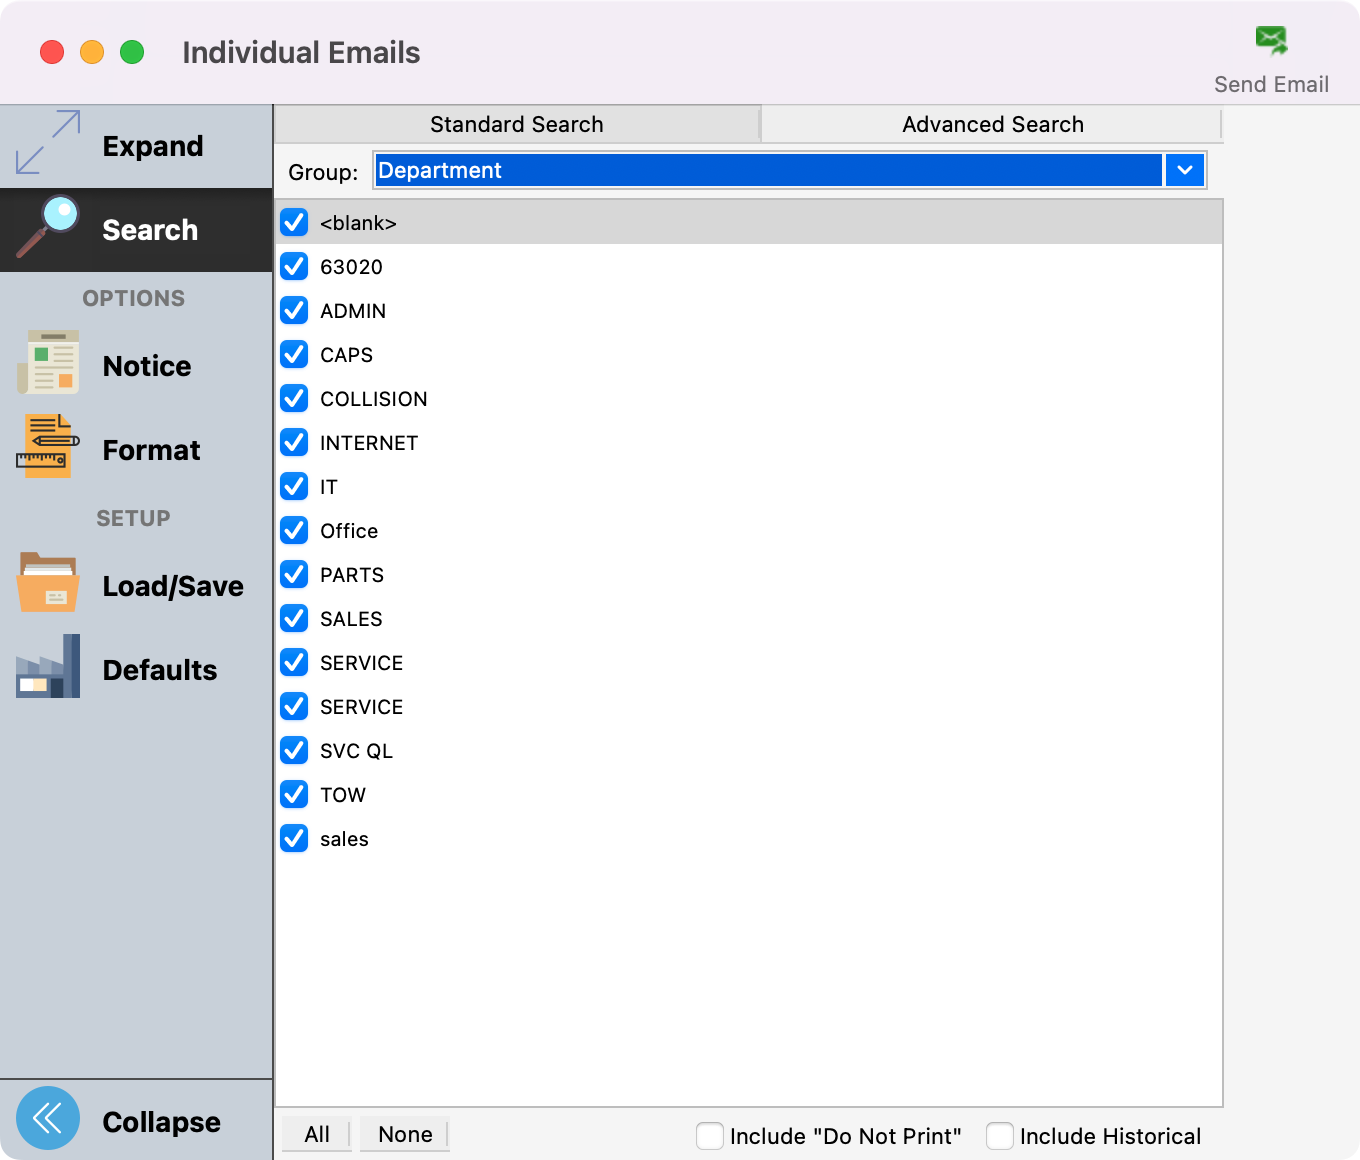
Under Search select the Group of Individuals you want to email.
-
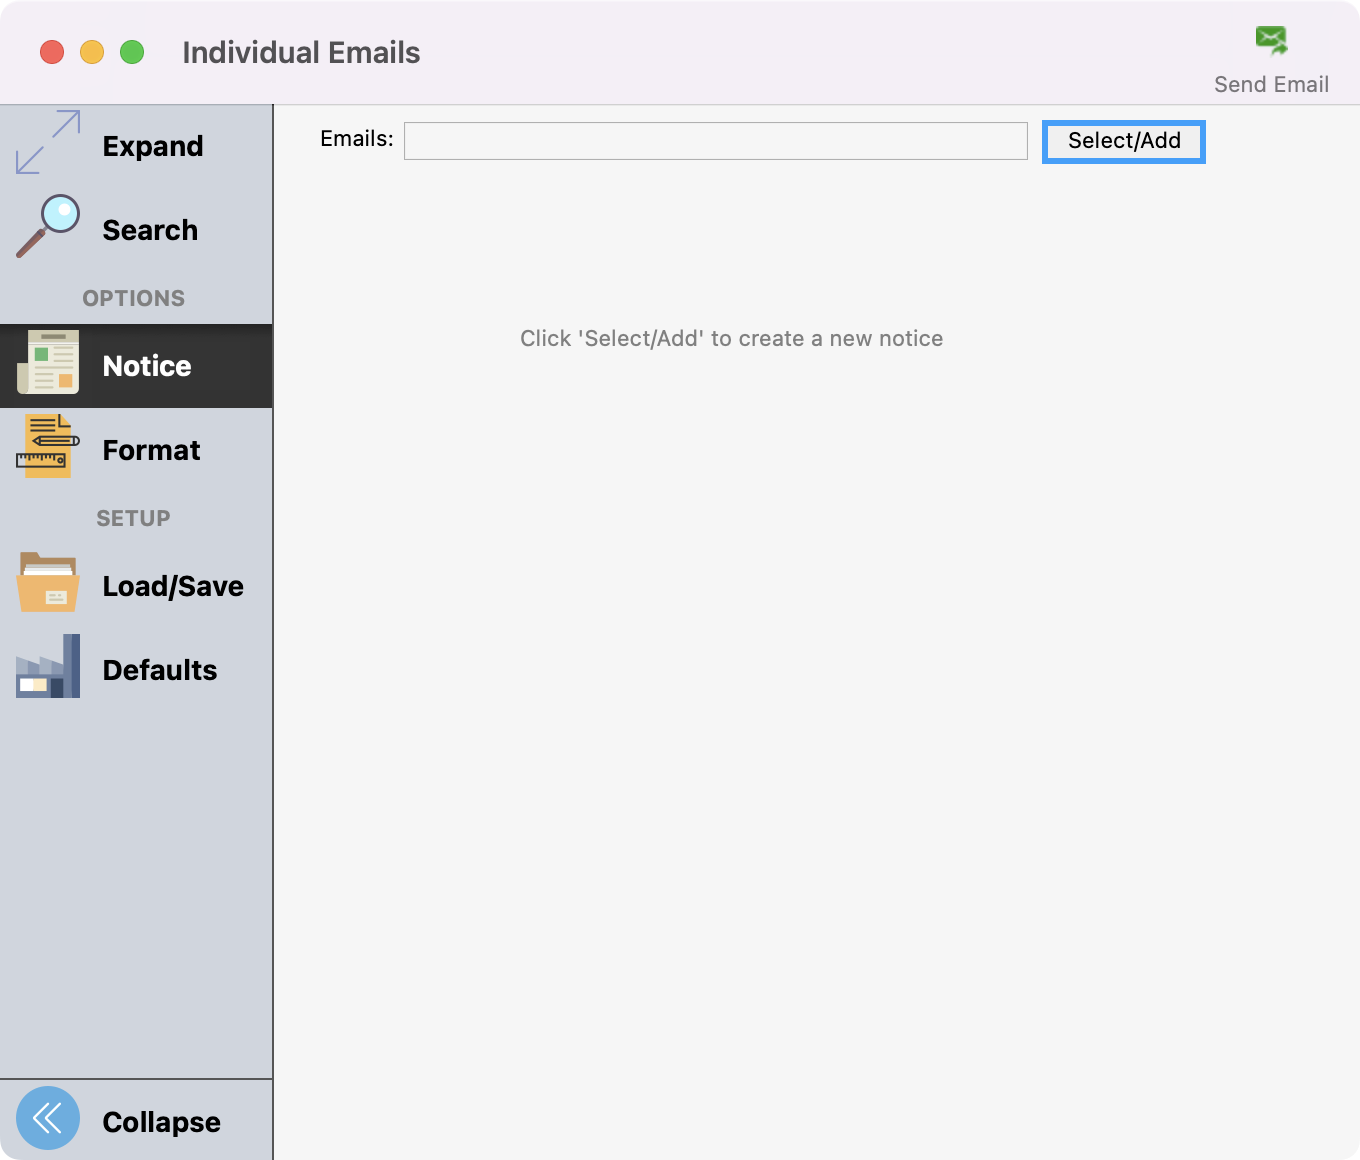
Next, click Notice from the left sidebar. To create or add a new notice, click Select/Add.
-
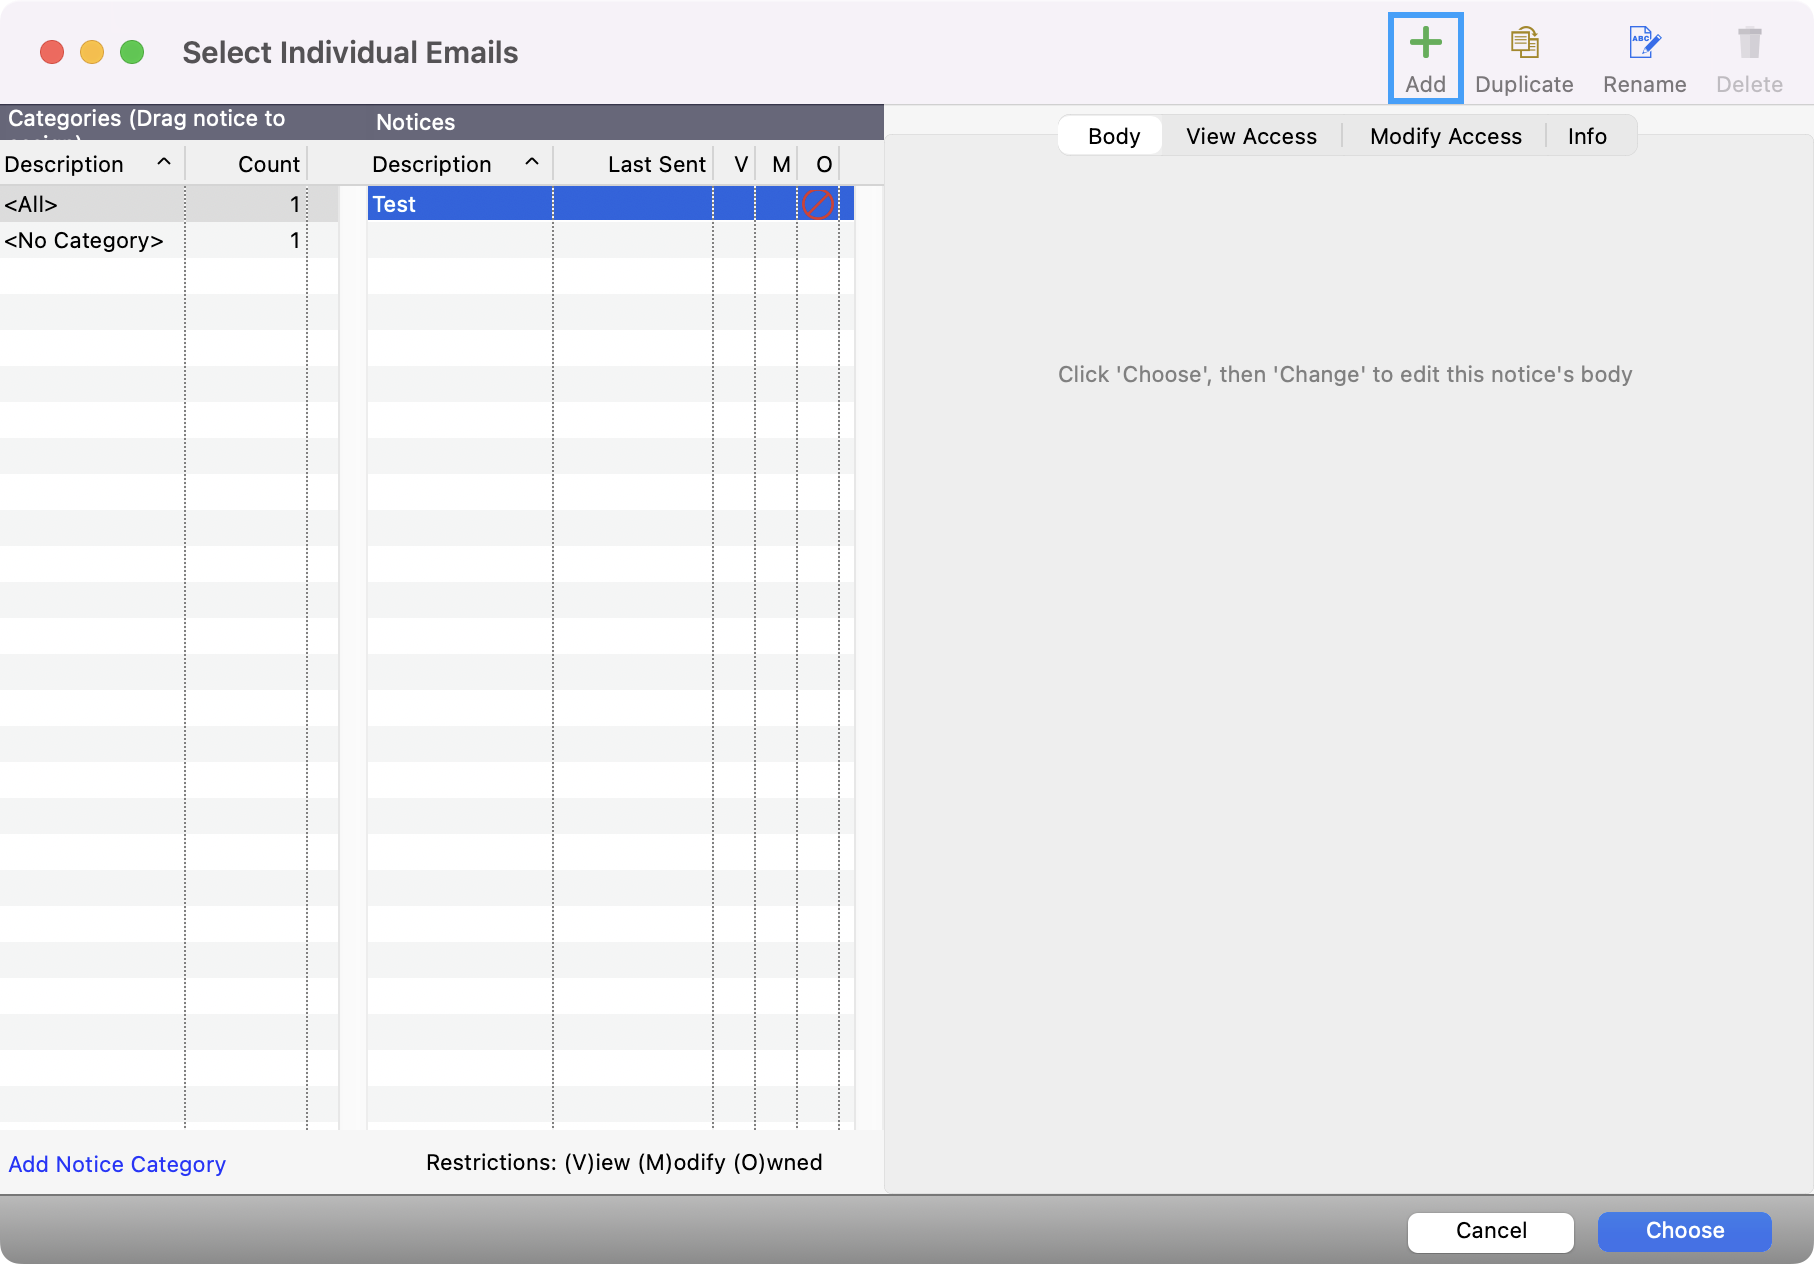
From this window, you may create a new notice, edit an existing notice, or duplicate a notice you previously sent. The Duplicate function is especially helpful if you wish to start with a previously sent notice that you know has the format and graphics you need. By duplicating it, you can edit one copy for your current needs and still preserve the original as a record of what was sent.

Adding a New Notice
-
To create a new notice, click the Add button.
-
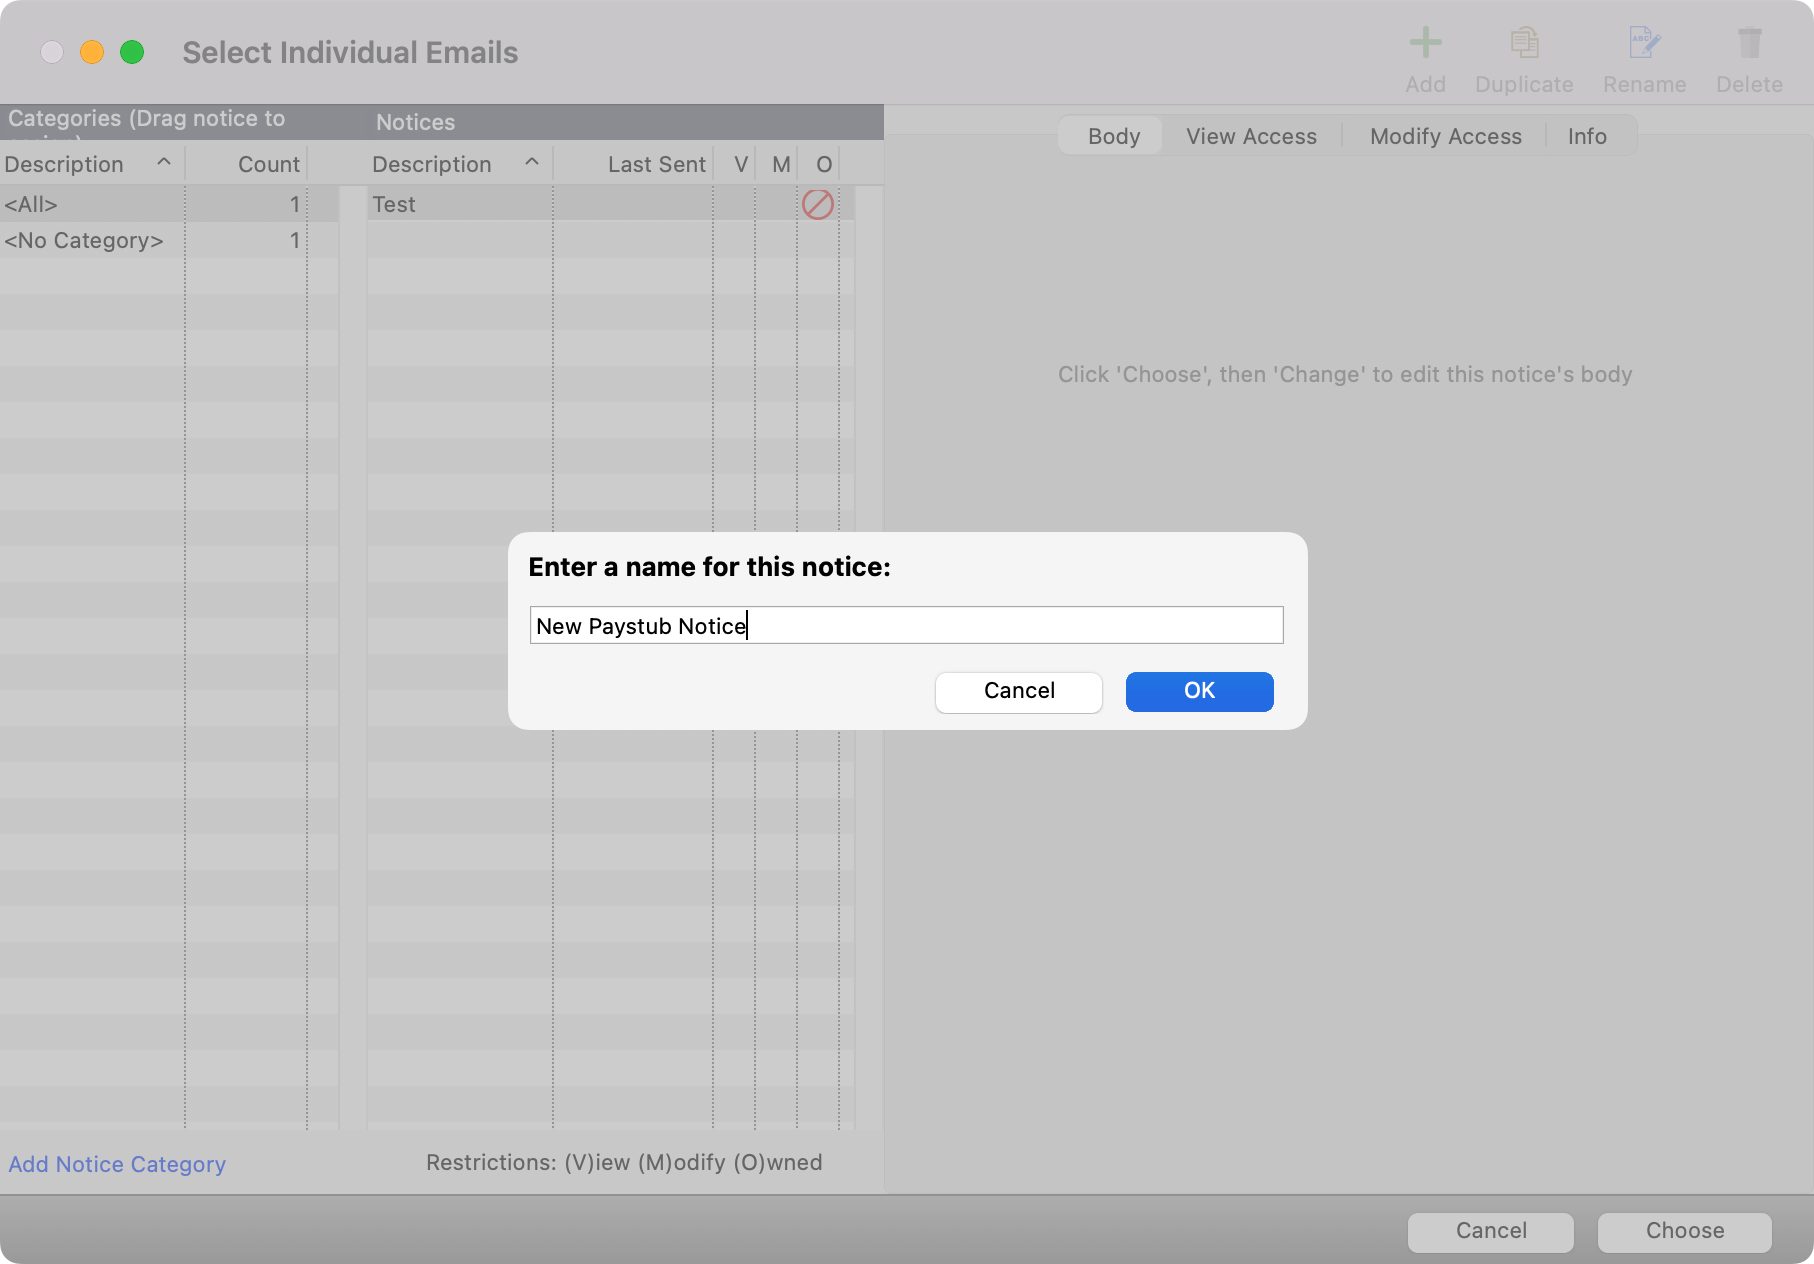
A small box will pop up. Give the notice a name that will help you identify it when you wish to use it again. This name does not appear on the notice itself.
-
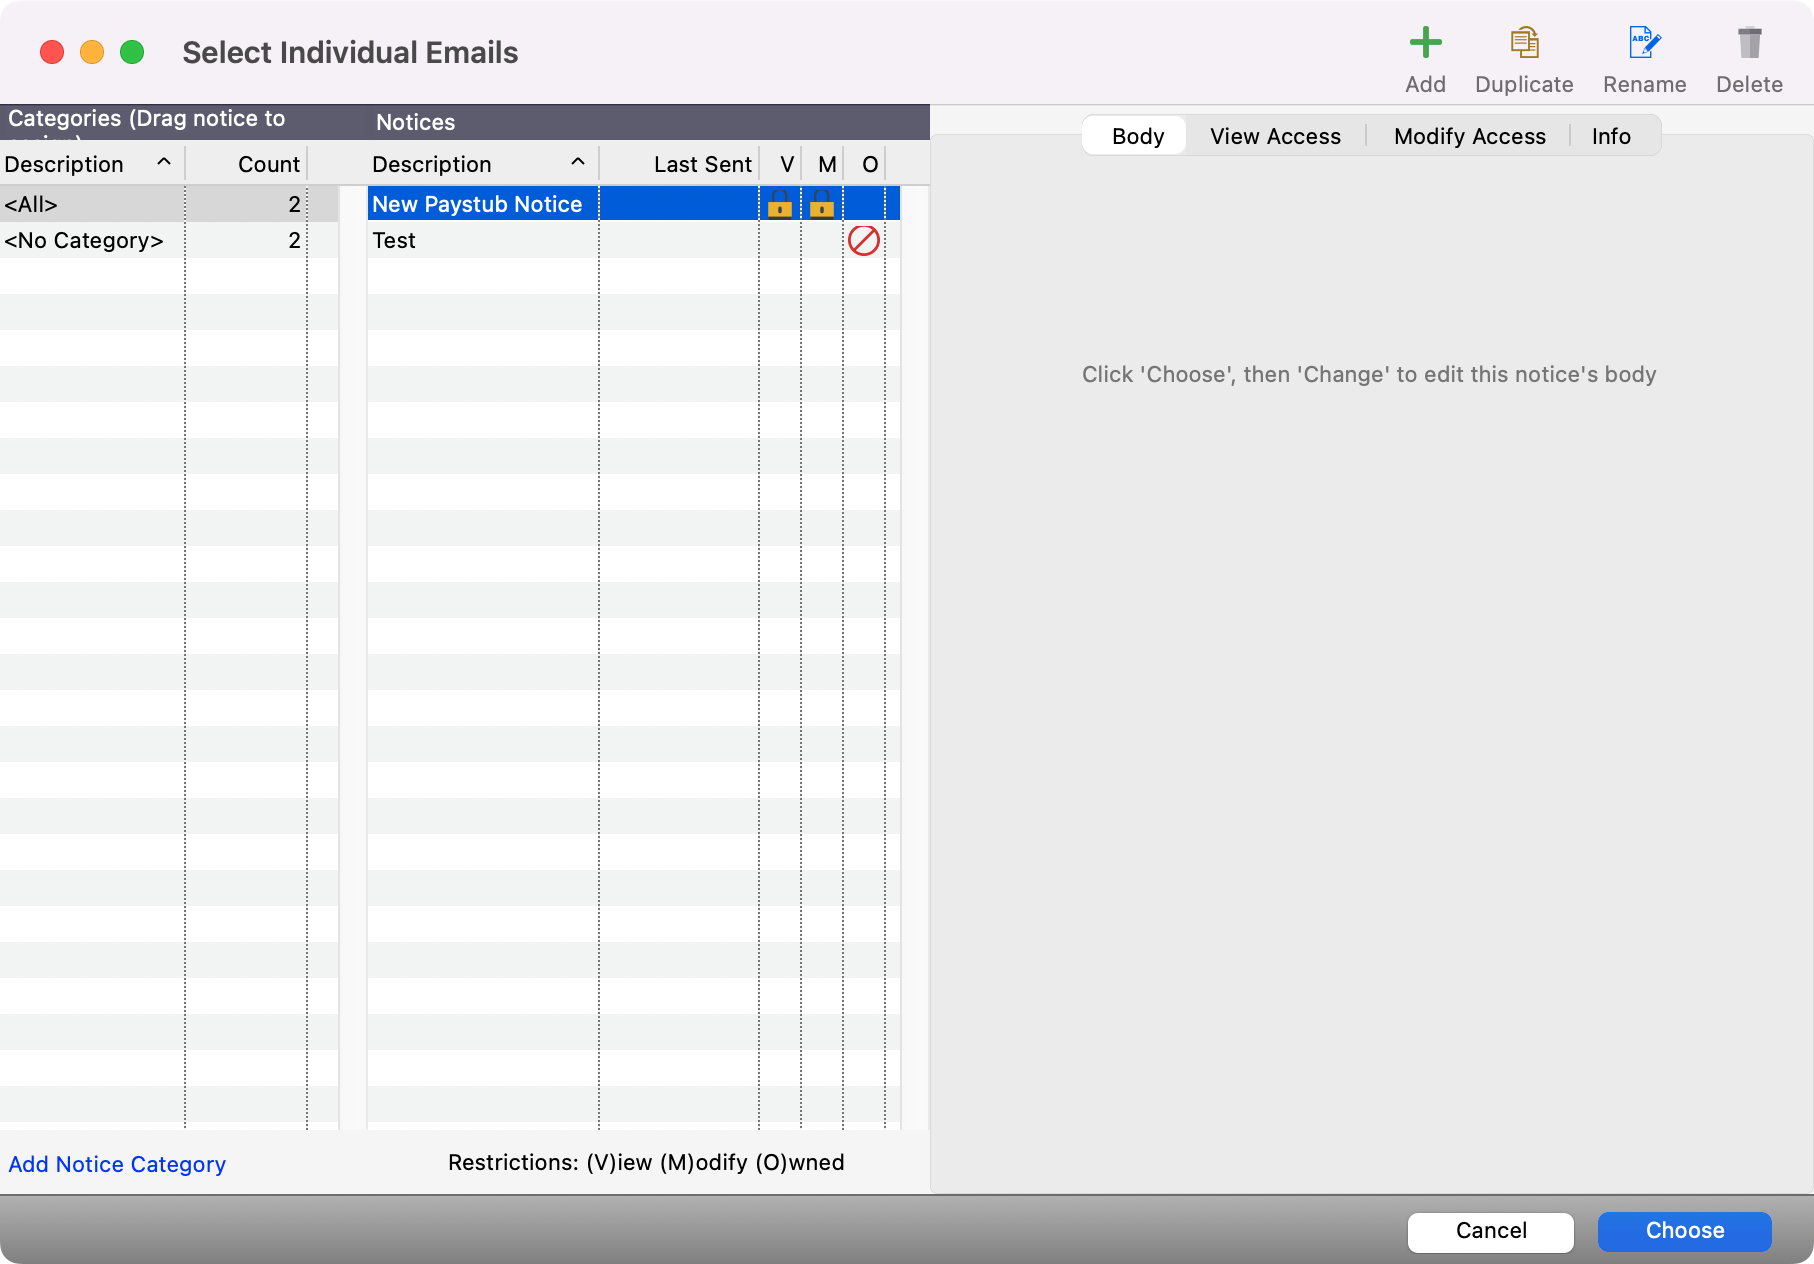
After clicking OK, you will see the new notice in the list. Click once on the name of the notice to highlight it and click the Choose button.
-
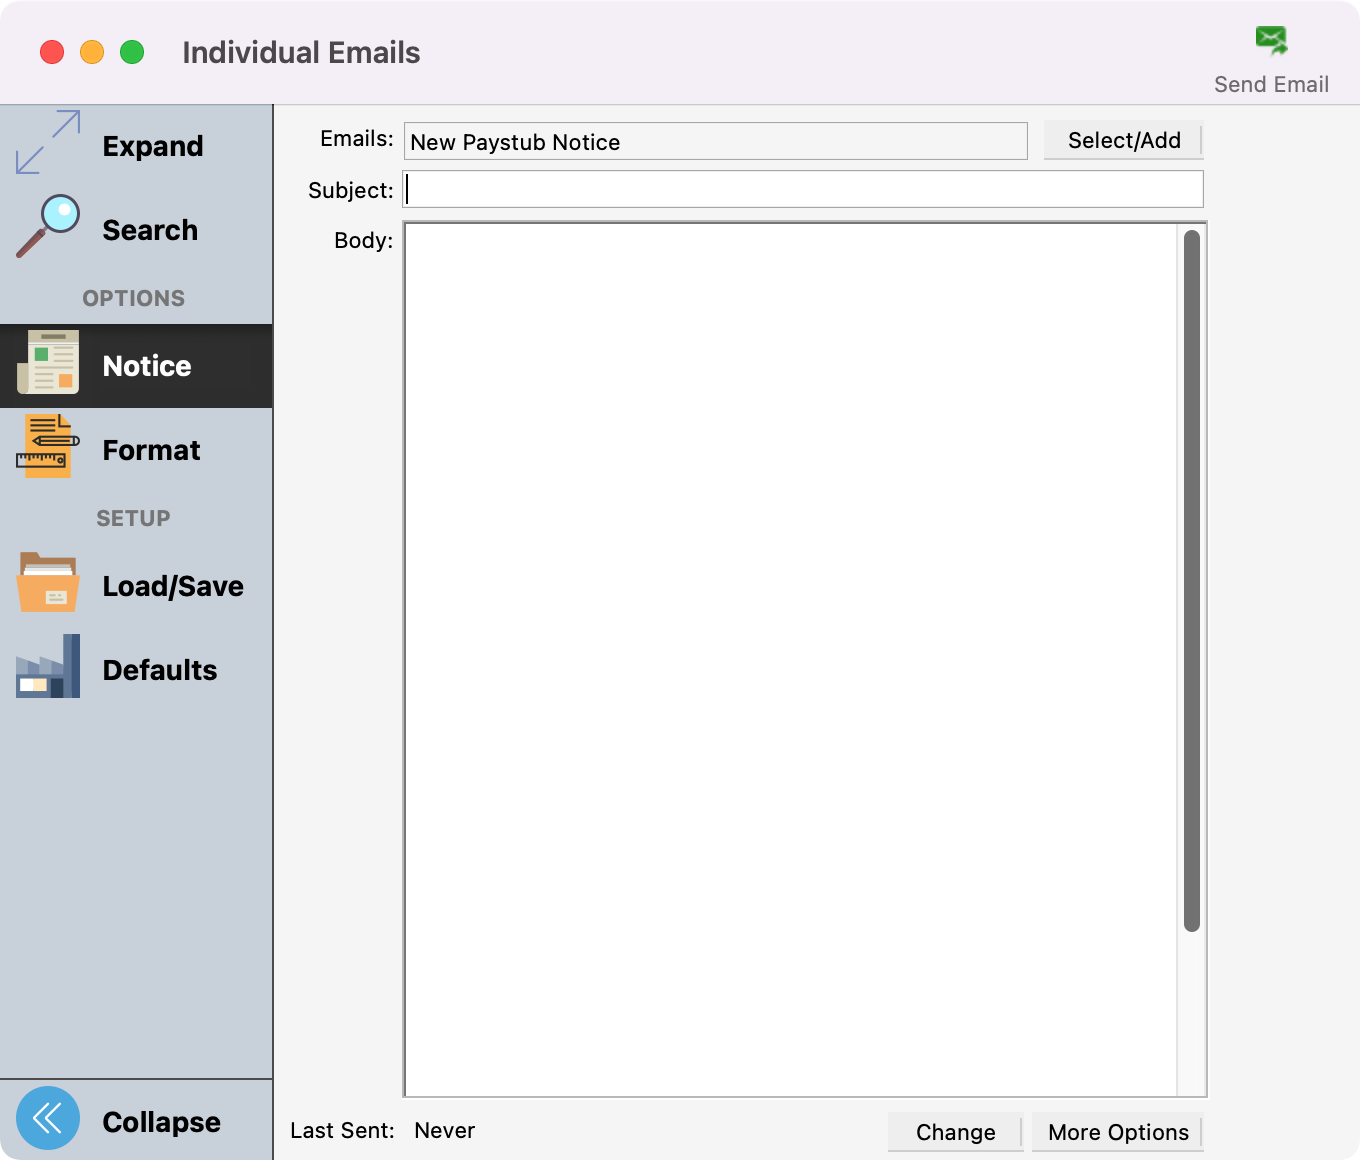
The new notice name will now appear in the notice report window, but the Body field will be blank. You can add a Subject and click the Change button to type and format the letter.
You can also control who has access and can make changes to a notice. Use this link to see tips to control this access.
-
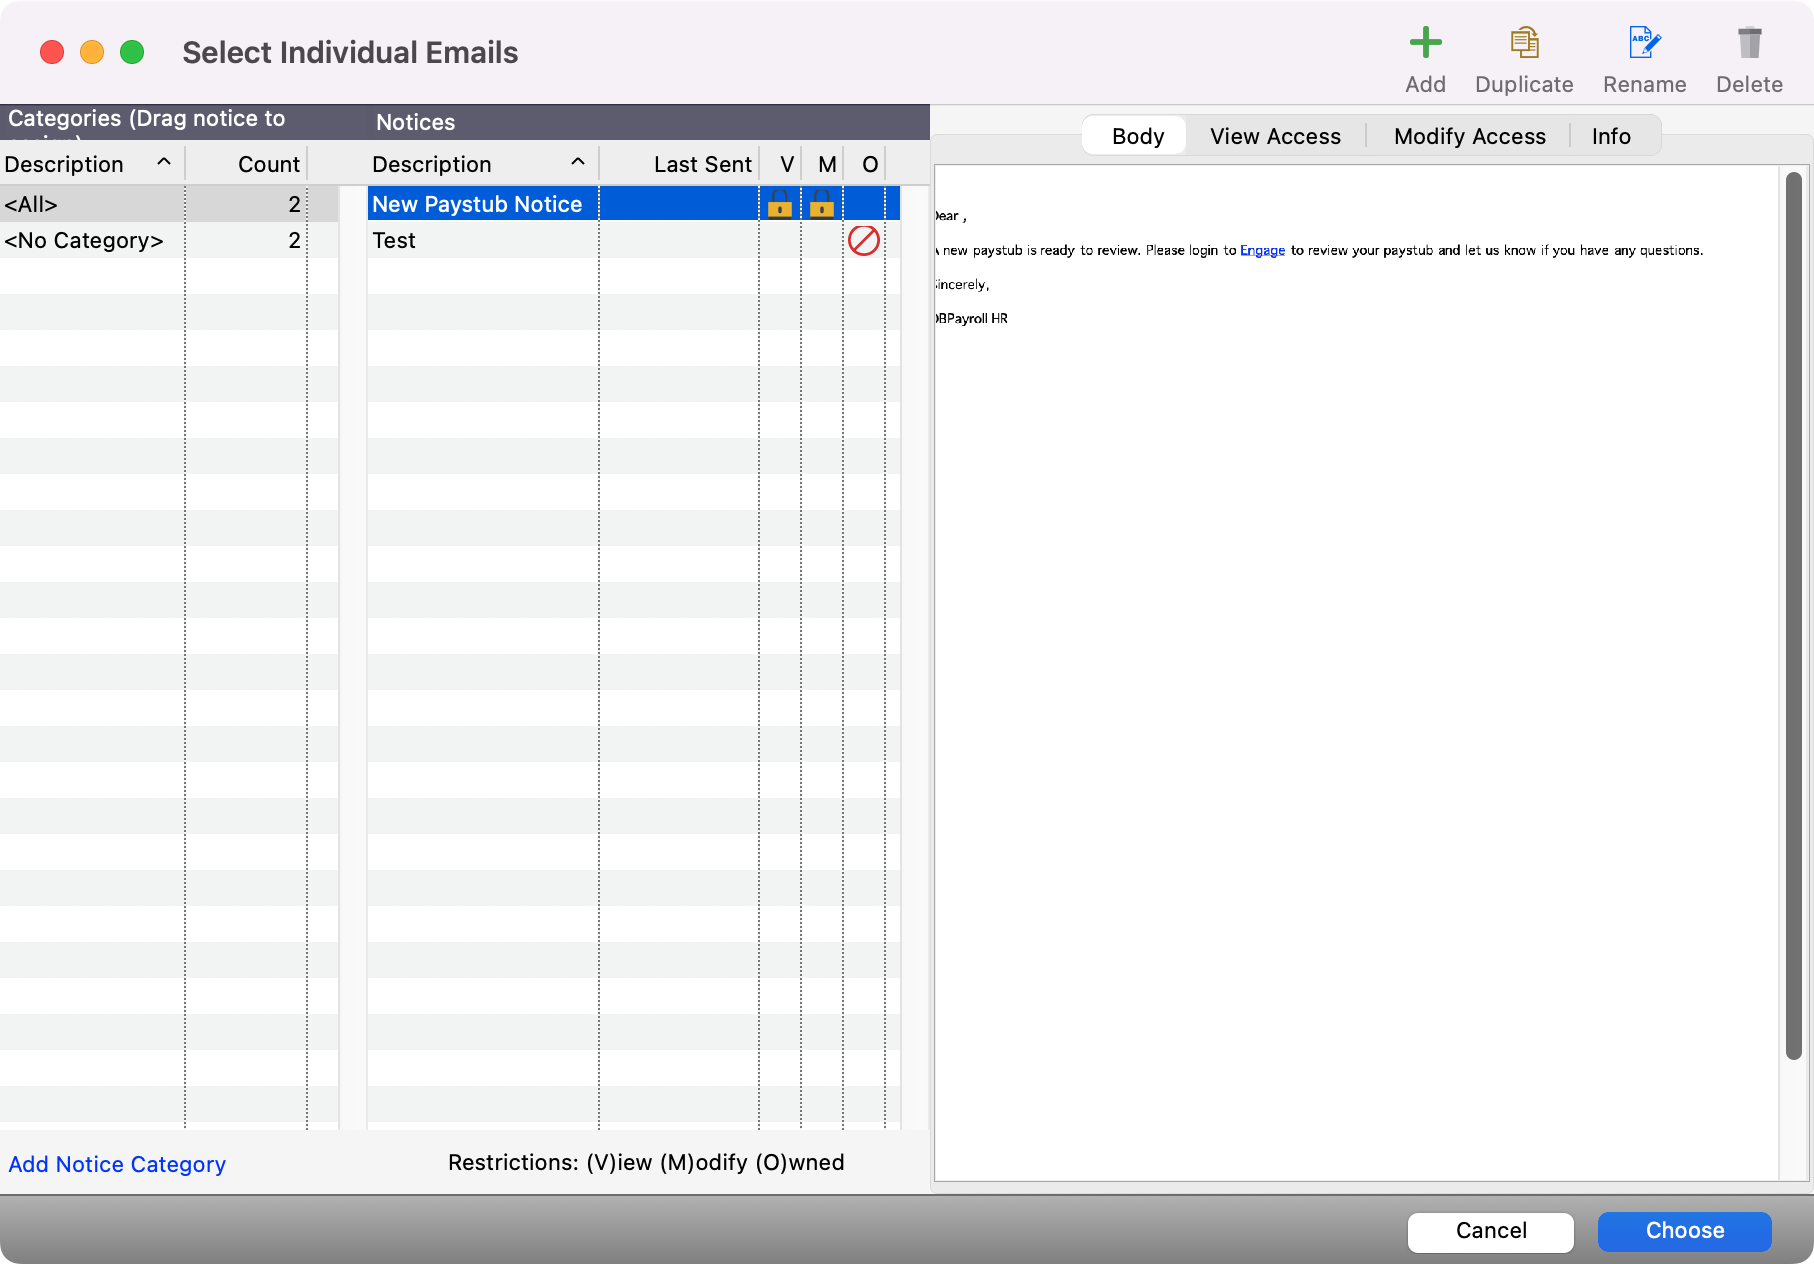
To use an existing notice, click the name of the notice once to highlight it and then click the Choose button.
You can organize your notices into Categories to make them easier to find. Reference this link to see tips and tricks on how to maintain these categories.
Formatting and Editing a Notice
-
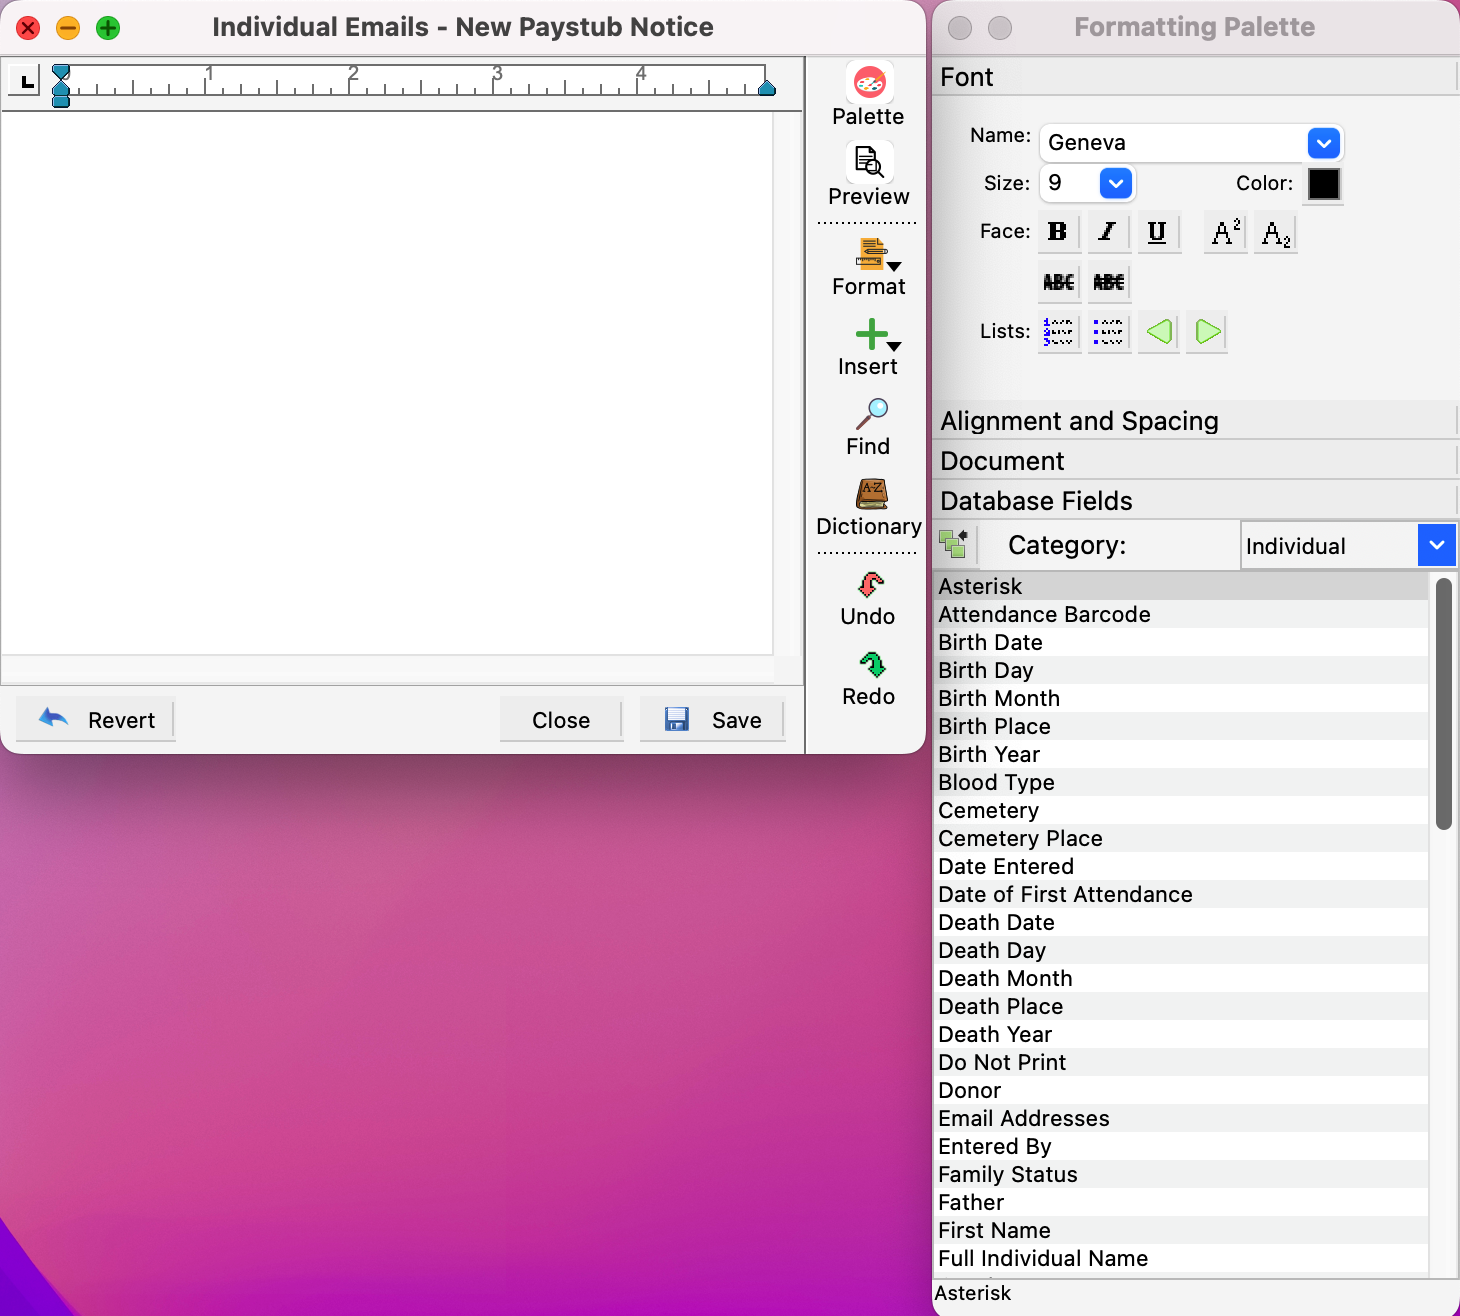
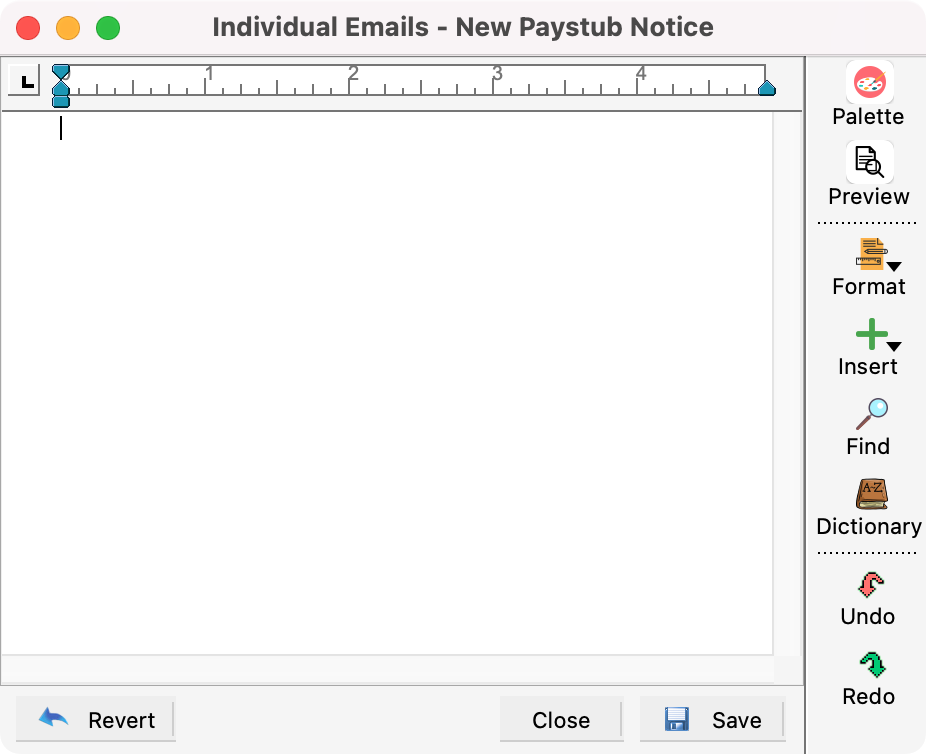
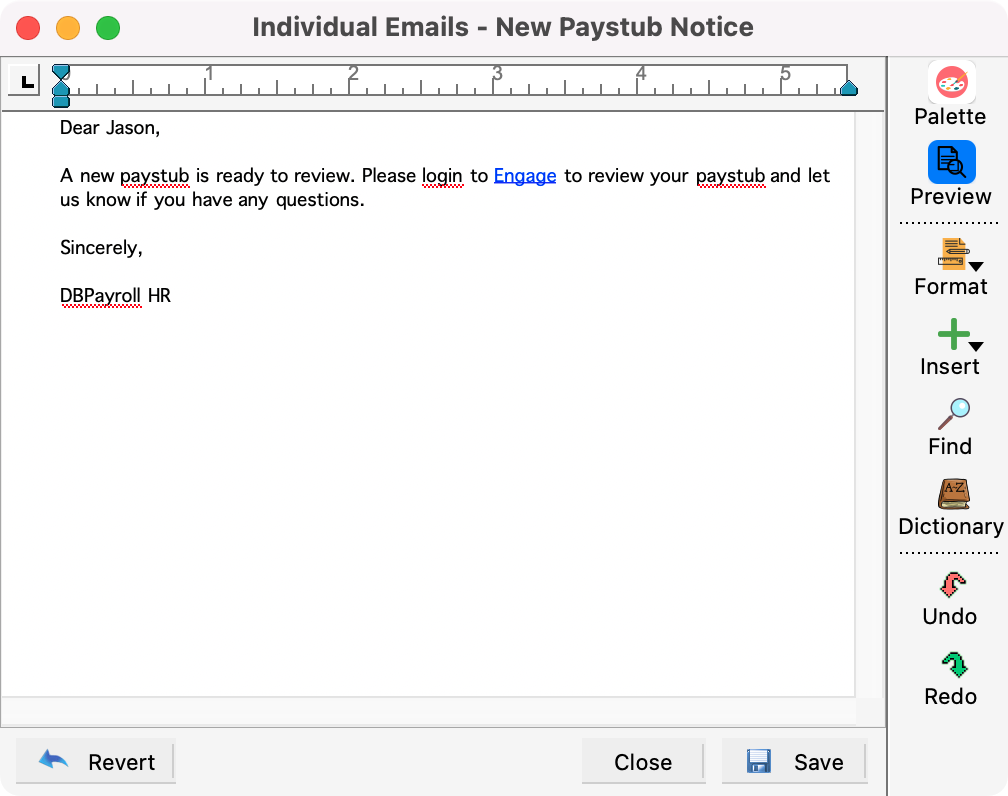
After clicking Change on the Individual Emails window, he notice editor window will open, along with the Formatting Palette.
-
The Formatting Palette contains a number of sections that should be familiar to anyone who has used a word-processing program. The Database Fields section allows you to quickly insert information from Payroll in your email. Click on the name of a palette section such as Font, Alignment and Spacing, Document, or Database Fields to expand it. If you move or resize the editor window, the palette will automatically position itself to the right edge of the editor window.
You can use the Formatting Palette to style existing text or to set the defaults for text you will enter.
An alternate way to style text is to highlight it and click Format button on the right sidebar of the notice editor window. Here you will find options to style the Font, Paragraph, Document, and more. Selecting one of these choices will open a new window with styling options. There is no difference between using the Palette or the Formatting windows to style text in your document.
To see tips and tricks on how to use the Formatting Palette you can utilize this link.
-
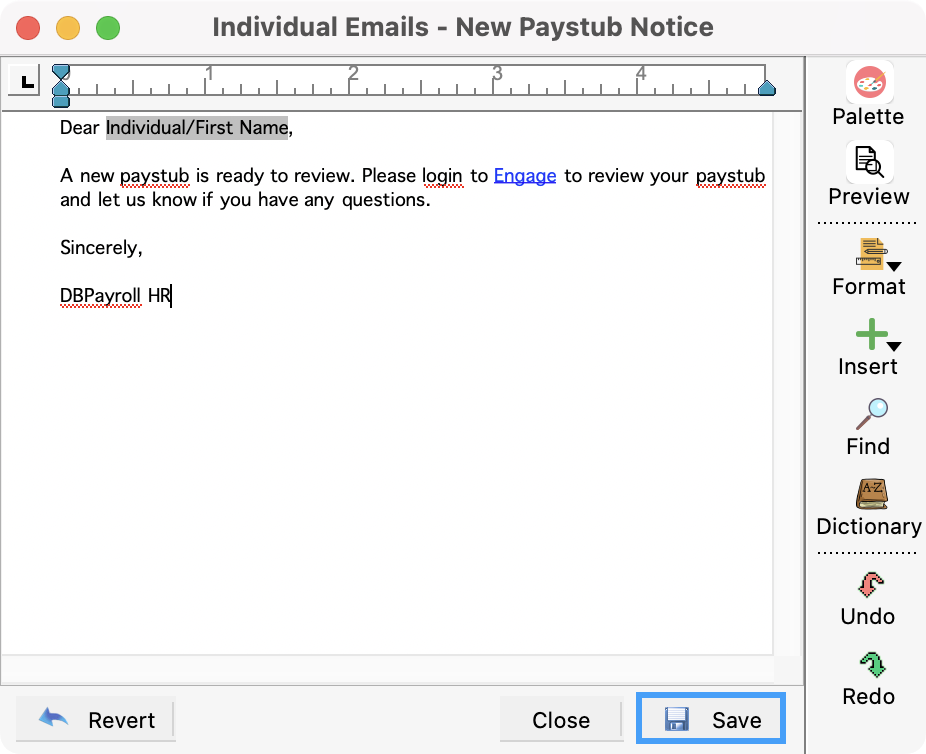
After you have written your email, click Save.
Previewing
-
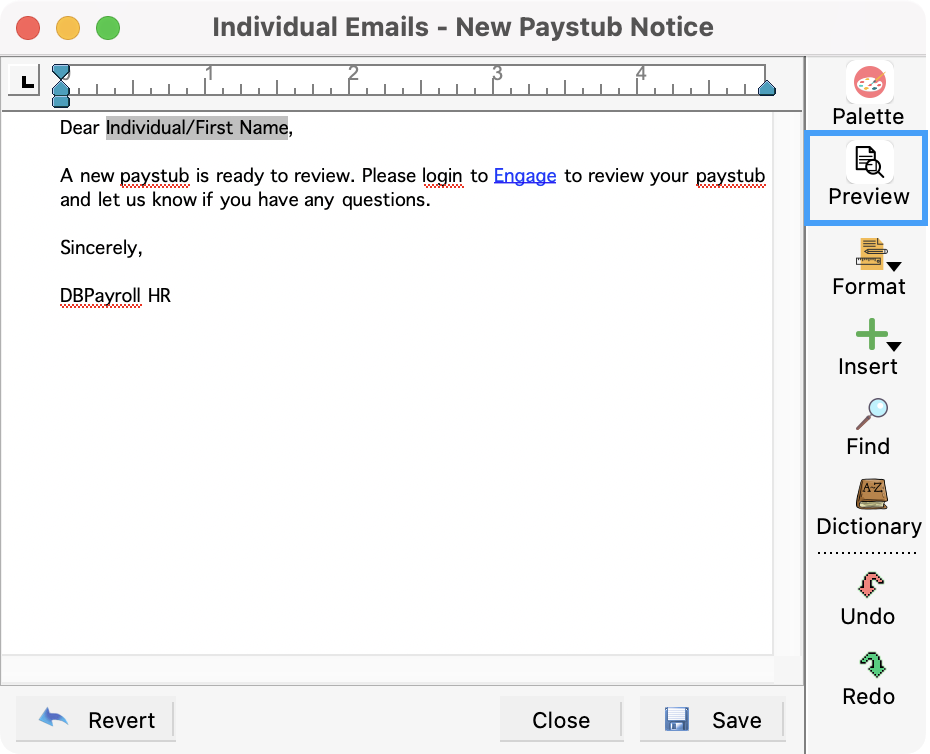
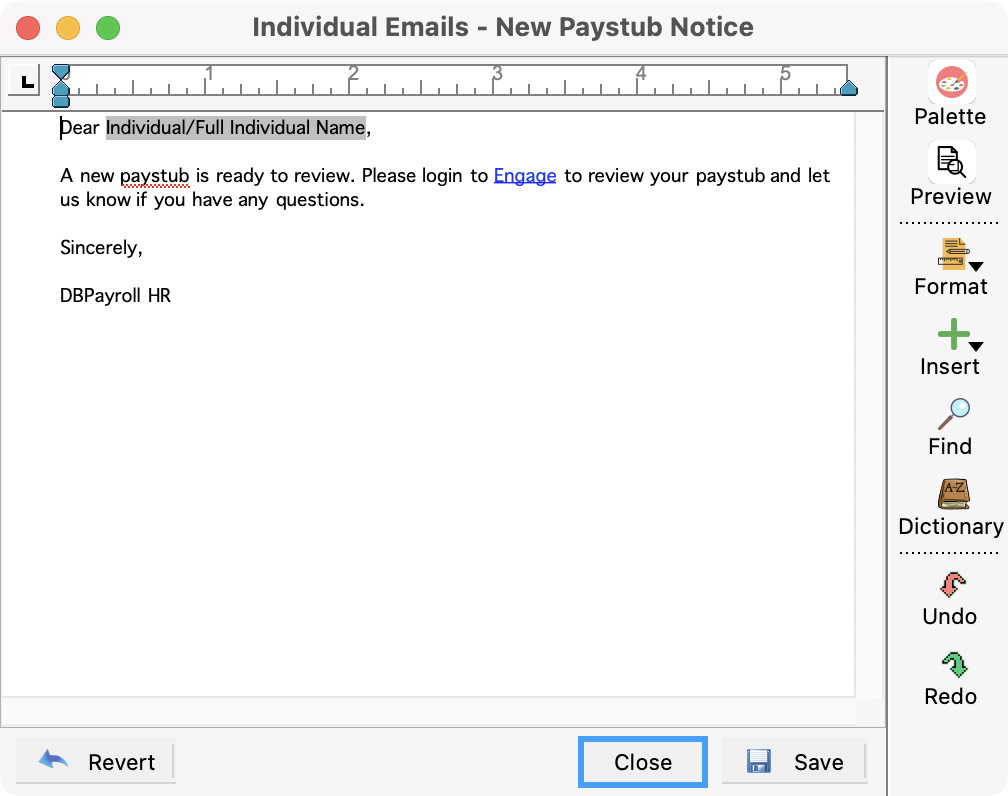
If you want to see the embedded fields in your notice, click the Preview button on the right sidebar. You then get forward/backward buttons on the bottom of the notice window that allow you to how the notice(s) will appear. The embedded field will now be replaced by the results, and will be underlined with small dots. If you click the Preview button again, the notice will return to normal.
Sending Email Notices
-
When you are ready to send your email, click Close on the editing window.
-
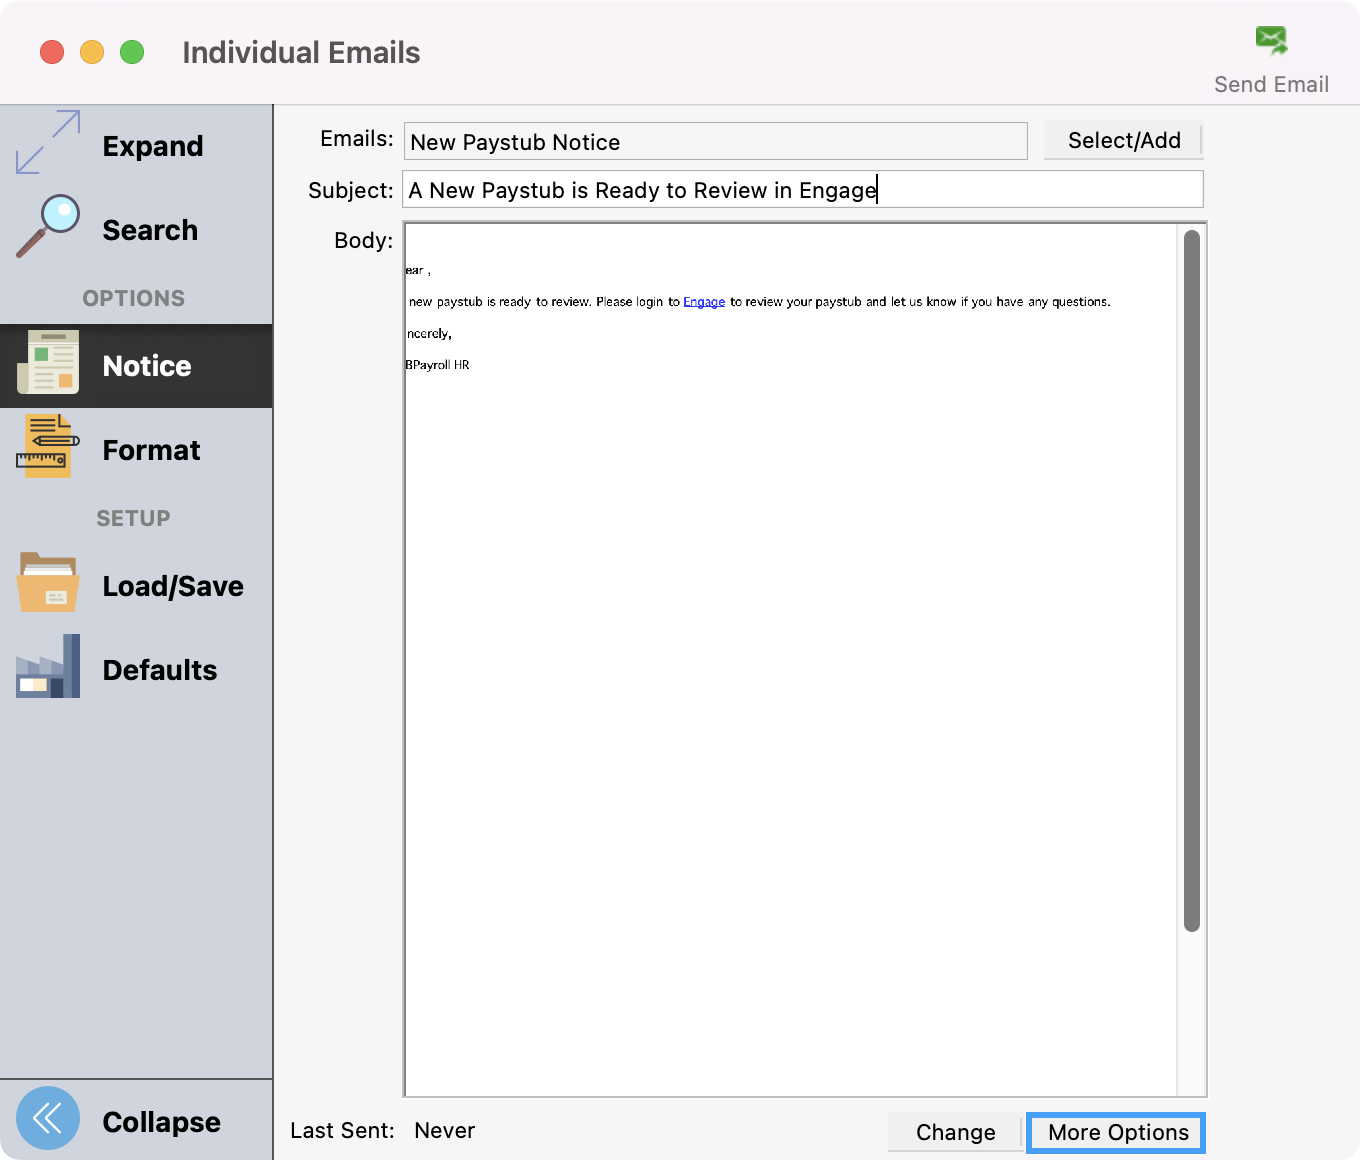
Then, from the Individual emailsl window, click More Options.
-
On this window, you can add/change the following information:
-
Add/Change Subject
-
CC field
-
BCC field
-
Add/Change Sender’s Name and Address (email address) by typing in the information in the fields and clicking Save when done.
-
SMTP Account if you use multiple accounts. If you are using the Suran SMTP Hosting account, then we recommend you do not change accounts.
-
Add Attachments
-
You can also choose to Send Test email.
-
You can check the box that says, Send a copy to the sender
Click Save when you’re finished reviewing and editing.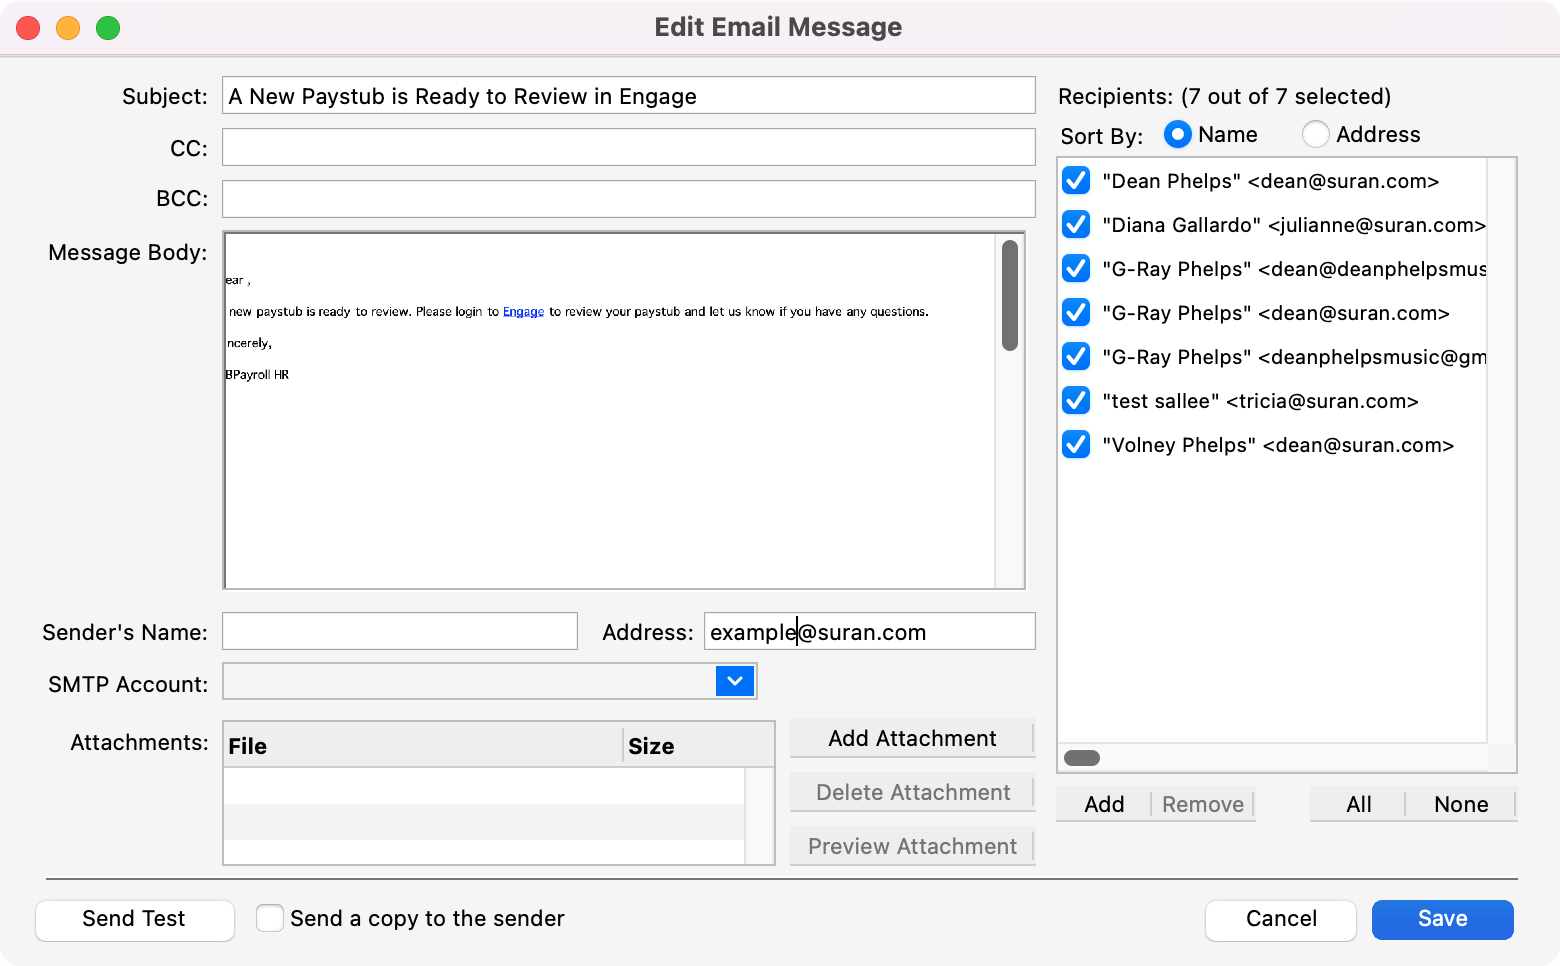
-
-
When you’re ready to send, click Send Email in the upper right-hand corner.
-
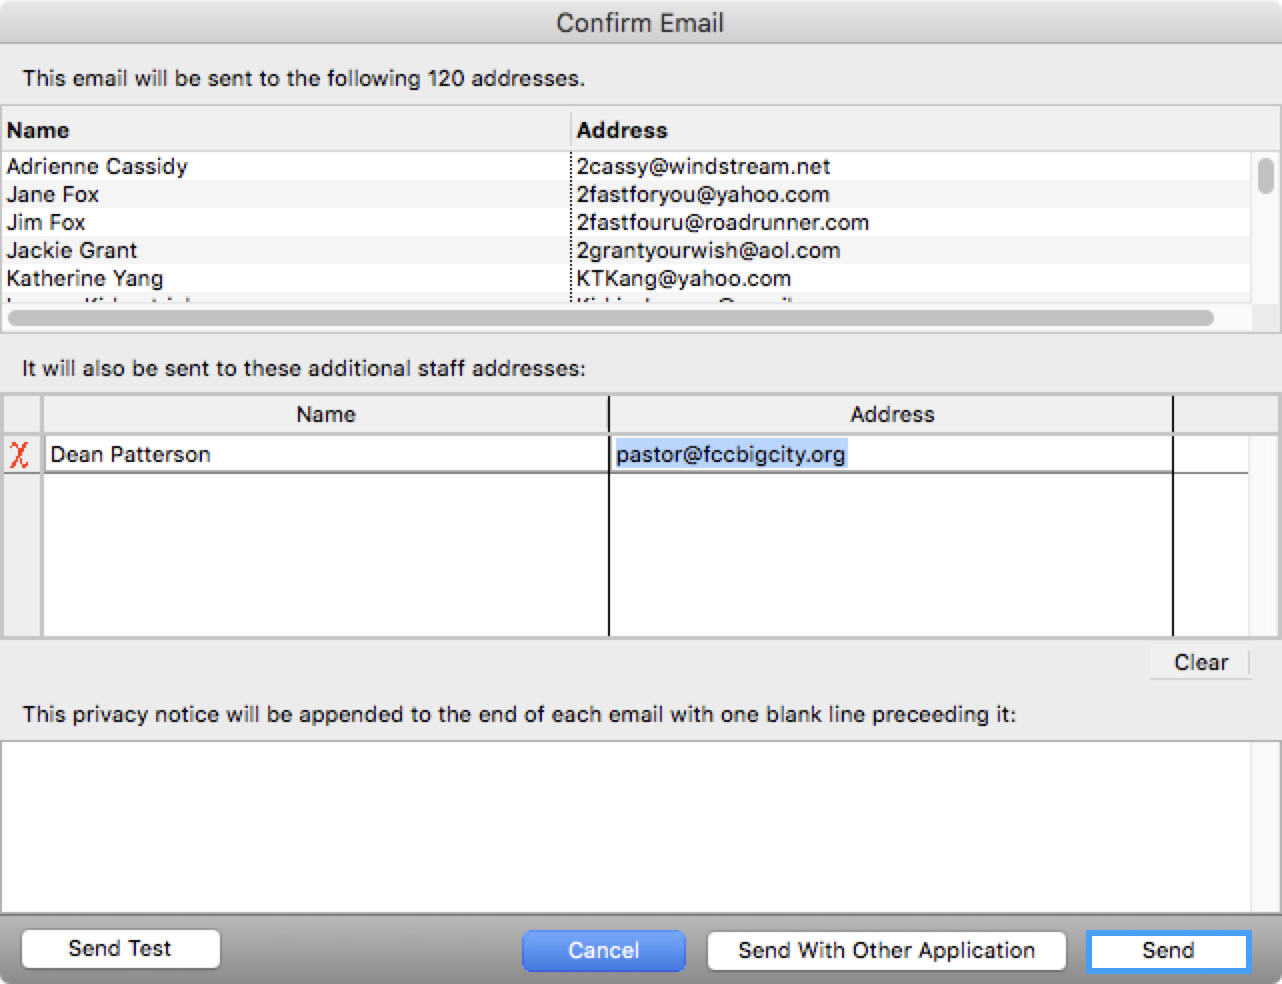
In the window that opens, you can edit the staff recipient email address list and modify the privacy notice. When ready to send the email, click Send.
Setting Up Staff Email Addresses and Privacy Notice
-
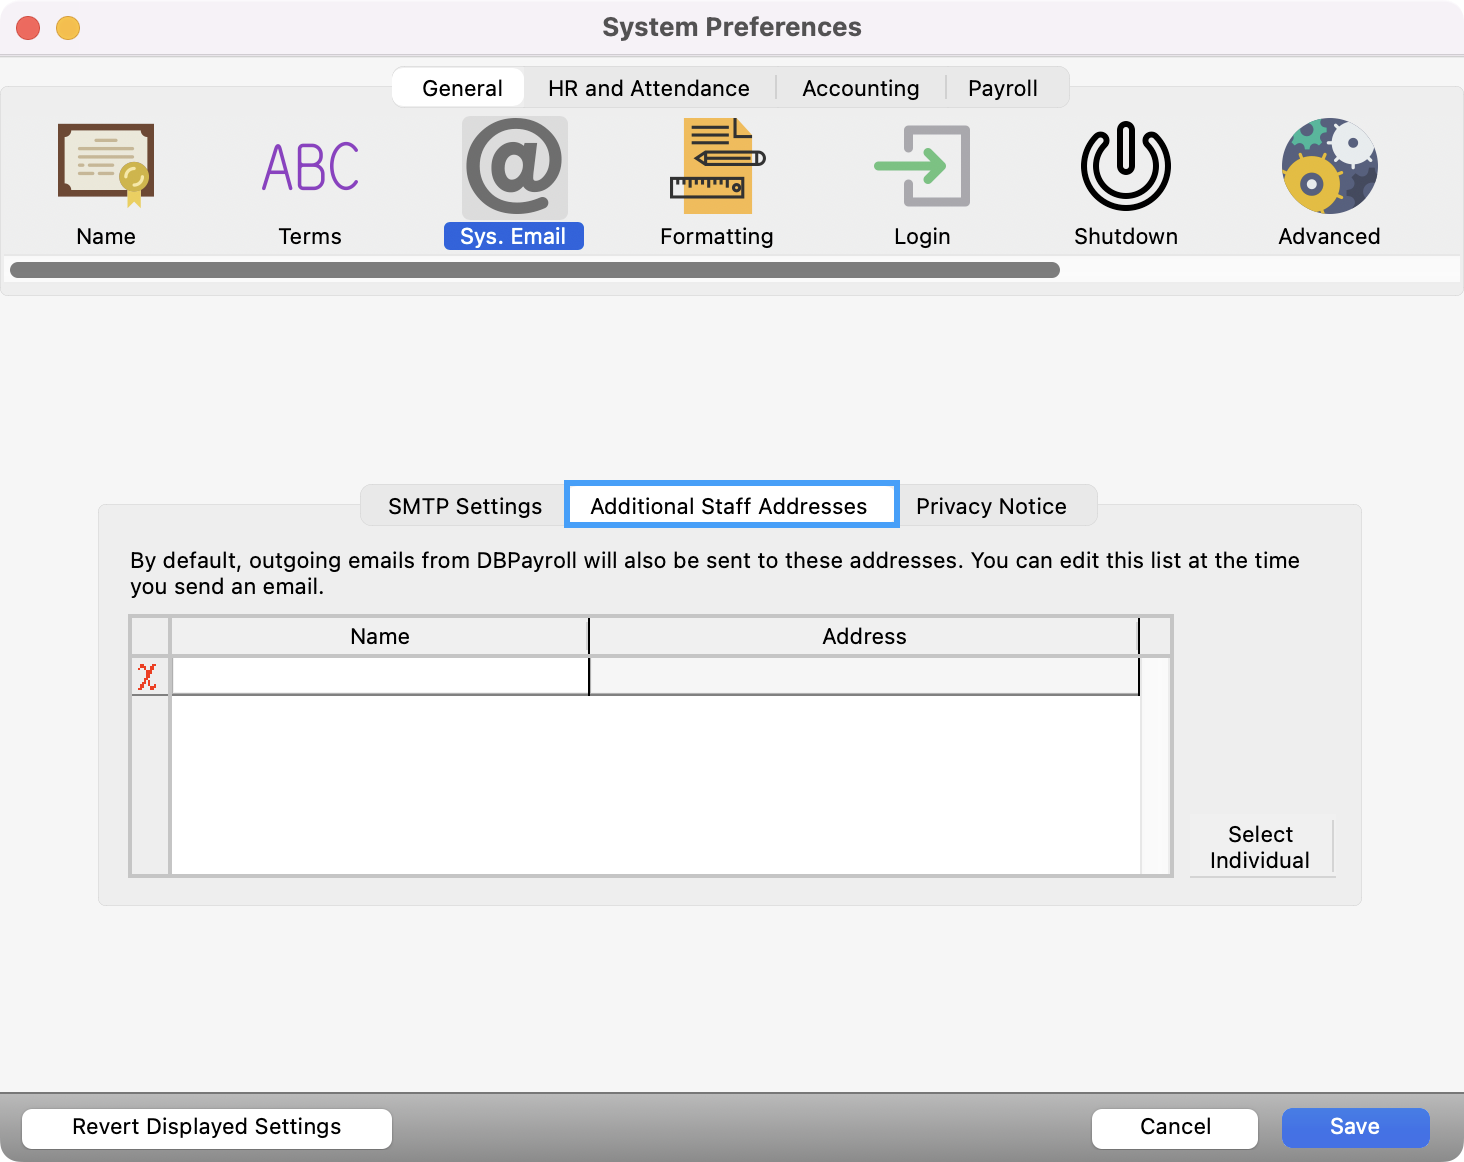
Go to Payroll → Preferences → Payroll System → General → Sys. Email on macOS or File → Preferences → Payroll System → General → Sys. Email on Windows and click on the Additional Staff Addresses tab to set up this information.
-
You can also include a privacy notice that will be displayed at the very bottom of your emails. Click Privacy Notice, write your notice, and click Save when finished.
